12. Nimm in Kerning City das unmarkierte Portal in der Mitte unten – es führt zu Subway Ticketing Booth. Es hat kein Portal-Zeichen: Stell dich auf die Stelle und drück die Pfeiltaste nach oben.
13. Nimm in Subway Ticketing Booth das Portal rechts unten – es führt zu Line 1 <Area 1>.
14. Nimm in Line 1 <Area 1> das unmarkierte Portal ganz rechts unten – es führt zu Transfer Area. Es hat kein Portal-Zeichen: Stell dich auf die Stelle und drück die Pfeiltaste nach oben.
15. Nimm in Transfer Area das unmarkierte Portal rechts unten – es führt zu Line 2 <Area 1>. Es hat kein Portal-Zeichen: Stell dich auf die Stelle und drück die Pfeiltaste nach oben.
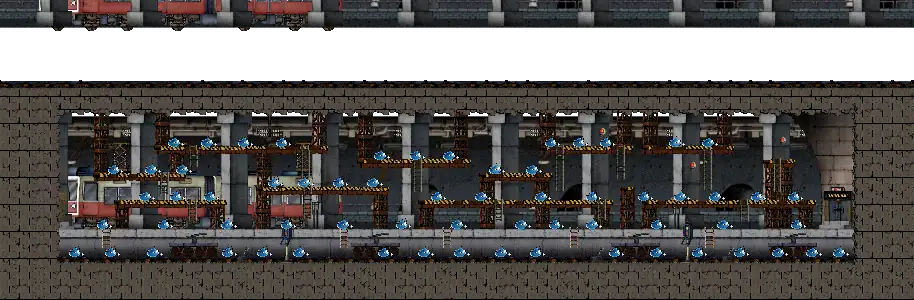
16. Nimm in Line 2 <Area 1> das unmarkierte Portal ganz rechts unten – es führt zu Line 2 <Area 2>. Es hat kein Portal-Zeichen: Stell dich auf die Stelle und drück die Pfeiltaste nach oben.
17. Line 2 <Area 2>: Wraith erscheinen an den pinken Punkten.
Wohin du musstVon Line 2 <Area 2> (wo Schritt 2 endet)
Nach Line 2 <Area 1>
Du kommst anNach Transfer Area
Du kommst anNach Line 1 <Area 1>
Du kommst anNach Subway Ticketing Booth
Du kommst anNach Kerning City
Du kommst anNach Kerning City Construction Site
Du kommst anNach L Forest I
Du kommst anNach L Forest II
Du kommst anNach L Forest III
Du kommst anNach Kerning City Middle Forest I
Du kommst anNach 3-Way Road-Split
Du kommst anNach Forest West of Henesys
Du kommst anNach A Hill West of Henesys
Du kommst anNach Henesys Hunting Ground I
Du kommst anNach Henesys
Du kommst anNach The Hill East of Henesys
Du kommst anNach The Rain-Forest East of Henesys
Du kommst anNach The Forest East of Henesys
Du kommst anNach The Forest South of Ellinia
Du kommst anNach The Forest of Wisdom
Du kommst anNach Monkey Forest I
Du kommst anNach Monkey Forest II
Du kommst anNach The Forest of Evil I
Du kommst anNach The Forest of Evil II
Du kommst anMalady
Kürzer: Benutze in Line 2 <Area 2> eine Return Scroll - Nearest Town. Sie bringt dich nach Kerning City, nur 19 Mapwechsel von The Forest of Evil II entfernt statt 24.
1. Nimm in Line 2 <Area 2> das unmarkierte Portal ganz links unten – es führt zu Line 2 <Area 1>. Es hat kein Portal-Zeichen: Stell dich auf die Stelle und drück die Pfeiltaste nach oben.
2. Nimm in Line 2 <Area 1> das Portal ganz links unten – es führt zu Transfer Area.
3. Nimm in Transfer Area das Portal links – es führt zu Line 1 <Area 1>.
4. Nimm in Line 1 <Area 1> das Portal ganz links unten – es führt zu Subway Ticketing Booth.
21. Nimm in The Forest of Wisdom das unmarkierte Portal links oben – es führt zu Monkey Forest I. Es hat kein Portal-Zeichen: Stell dich auf die Stelle und drück die Pfeiltaste nach oben.
22. Nimm in Monkey Forest I das Portal rechts oben – es führt zu Monkey Forest II.
23. Nimm in Monkey Forest II das Portal rechts oben – es führt zu The Forest of Evil I.
24. Nimm in The Forest of Evil I das unmarkierte Portal rechts oben – es führt zu The Forest of Evil II. Es hat kein Portal-Zeichen: Stell dich auf die Stelle und drück die Pfeiltaste nach oben.
31. Nimm in Another Entrance das unmarkierte Portal rechts – es führt zu Drake's Meal Table. Es hat kein Portal-Zeichen: Stell dich auf die Stelle und drück die Pfeiltaste nach oben.
Wohin du musstVon Drake's Meal Table (wo Schritt 4 endet)
Nach Another Entrance
Du kommst anNach The Tunnel That Lost Light II
Du kommst anNach The Tunnel That Lost Light I
Du kommst anNach Drake Hunting Ground
Du kommst anNach The Cave of Evil Eye IV
Du kommst anNach The Cave of Evil Eye III
Du kommst anNach The Cave of Evil Eye II
Du kommst anNach The Cave of Evil Eye I
Du kommst anNach Ant Tunnel Park
Du kommst anNach Deep Ant Tunnel II
Du kommst anNach Deep Ant Tunnel I
Du kommst anNach Dangerous Steam
Du kommst anNach Dark Cave
Du kommst anNach Ant Tunnel IV
Du kommst anNach Ant Tunnel III
Du kommst anNach Ant Tunnel II
Du kommst anNach Ant Tunnel I
Du kommst anNach Sleepywood
Du kommst anNach Swampy Land in a Deep Forest
Du kommst anNach Henesys Dungeon Entrance
Du kommst anNach The Road to the Dungeon
Du kommst anNach Henesys
Du kommst anNach Henesys Hunting Ground I
Du kommst anNach A Hill West of Henesys
Du kommst anNach Forest West of Henesys
Du kommst anNach 3-Way Road-Split
Du kommst anNach Thicket Around the Beach III
Du kommst anNach Thicket Around the Beach II
Du kommst anNach Thicket Around the Beach I
Du kommst anNach Right Around Lith Harbor
Du kommst anNach Lith Harbor
Du kommst anJane
Kürzer: Benutze in Drake's Meal Table eine Return Scroll - Nearest Town. Sie bringt dich nach Sleepywood, nur 13 Mapwechsel von Lith Harbor entfernt statt 31.
1. Nimm in Drake's Meal Table das Portal ganz links unten – es führt zu Another Entrance.
2. Nimm in Another Entrance das Portal ganz links unten – es führt zu The Tunnel That Lost Light II.
Jane's Second Challenge ist eine Quest in MapleStory Classic ab Level 44. Sprich mit Jane in Lith Harbor, um sie zu starten. Sie gibt 9,940 EXP und 1,389 Mesos.
 Jane

 Items
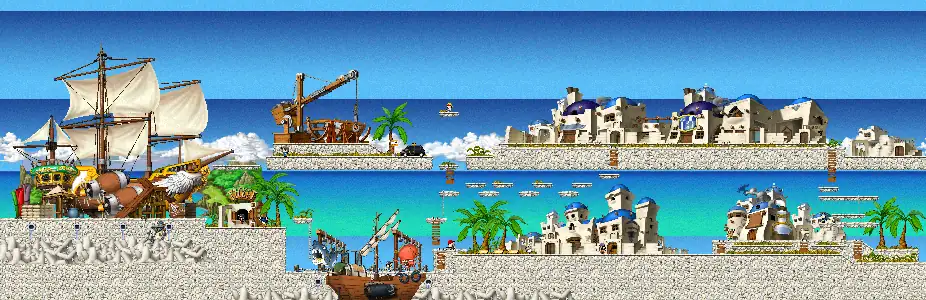
 Du kommst anNach Thicket Around the Beach I
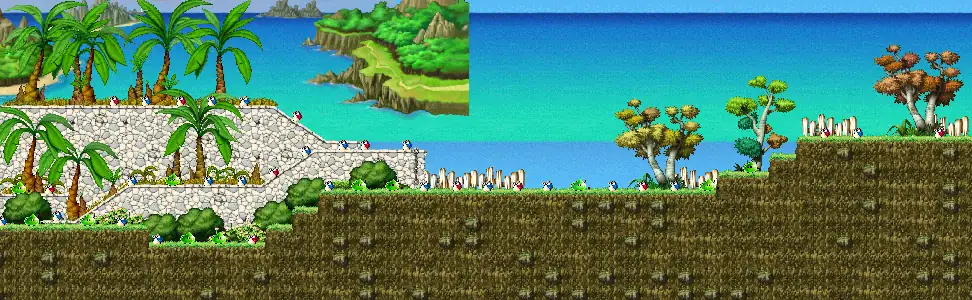
 Du kommst anNach Thicket Around the Beach II
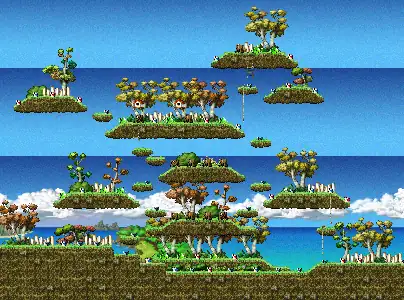
 Du kommst anNach Thicket Around the Beach III
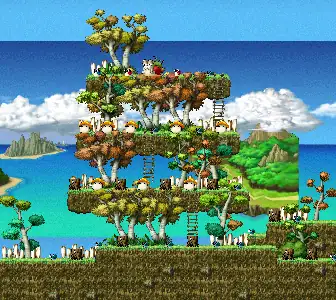 Du kommst anNach 3-Way Road-Split
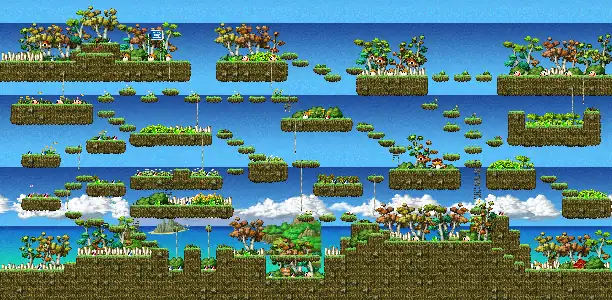 Du kommst anNach Kerning City Middle Forest I
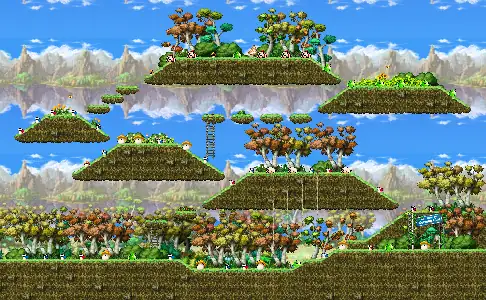 Du kommst anNach L Forest III
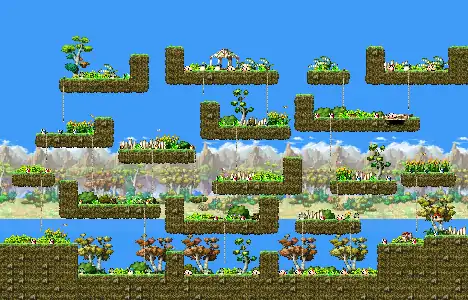 Du kommst anNach L Forest II
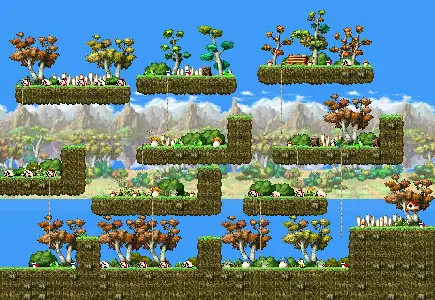 Du kommst anNach L Forest I
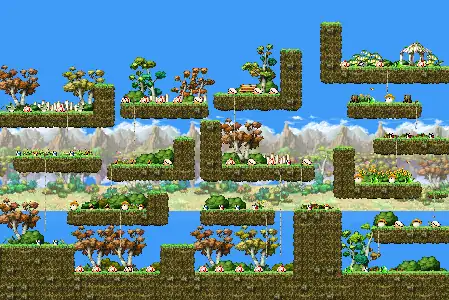 Du kommst anNach Kerning City Construction Site
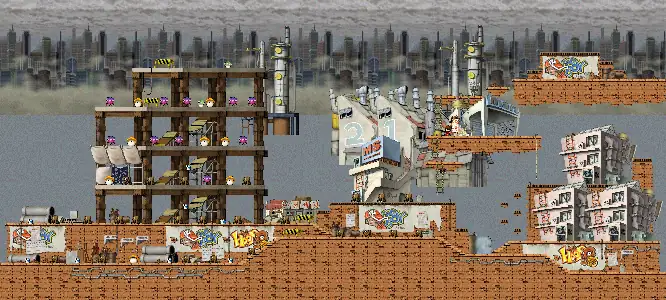 Du kommst anNach Kerning City
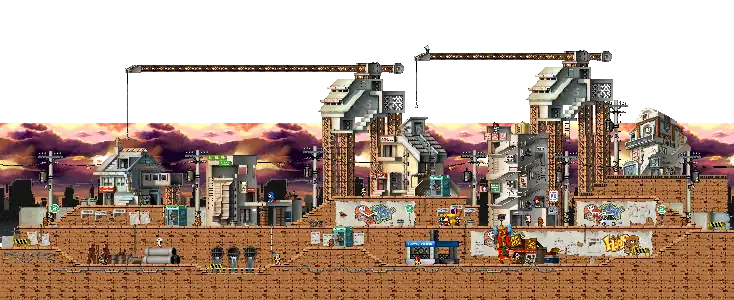 Du kommst anNach Subway Ticketing Booth
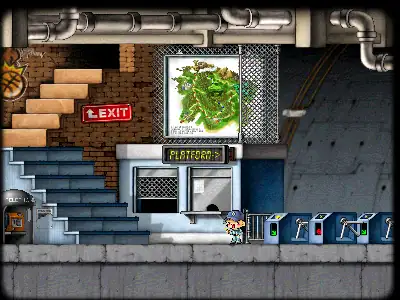 Du kommst anNach Line 1 <Area 1>
 Du kommst anNach Transfer Area
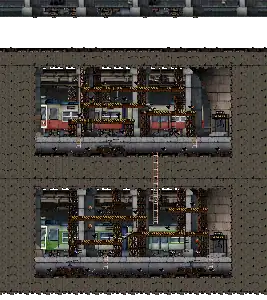 Du kommst anNach Line 2 <Area 1>
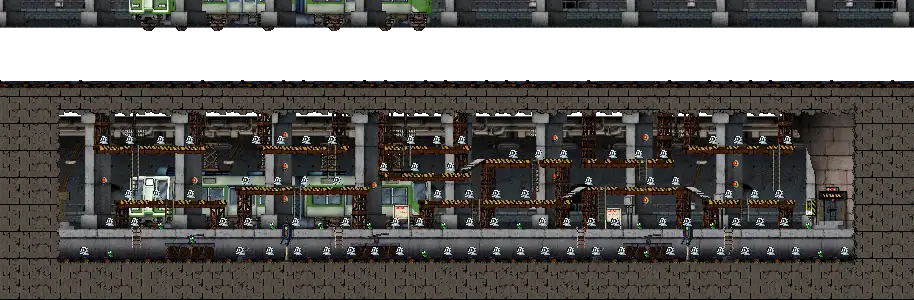 Du kommst anNach Line 2 <Area 2>
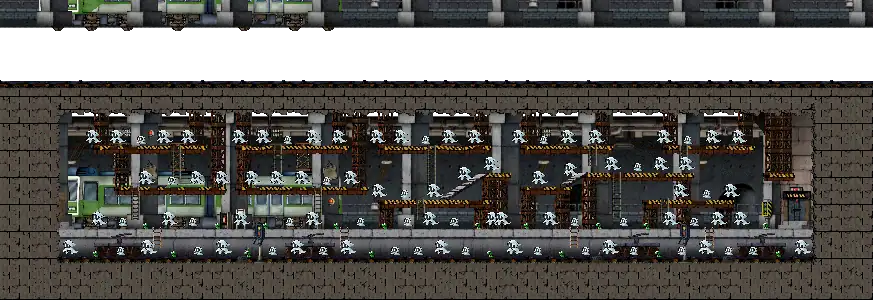 Du kommst anWraith

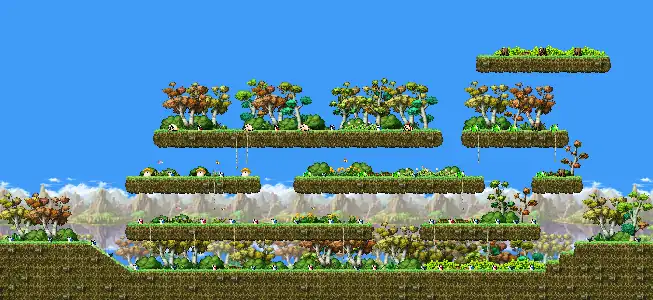 Du kommst anNach A Hill West of Henesys
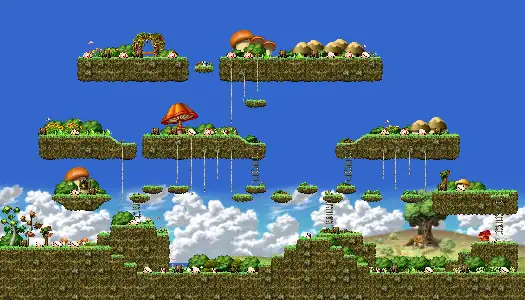 Du kommst anNach Henesys Hunting Ground I
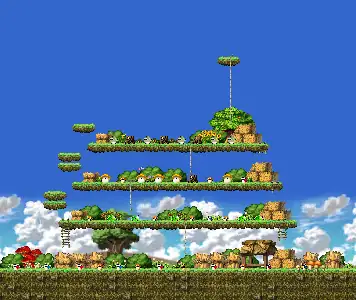 Du kommst anNach Henesys
 Du kommst anNach The Hill East of Henesys
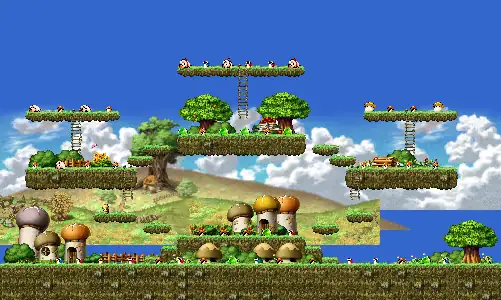 Du kommst anNach The Rain-Forest East of Henesys
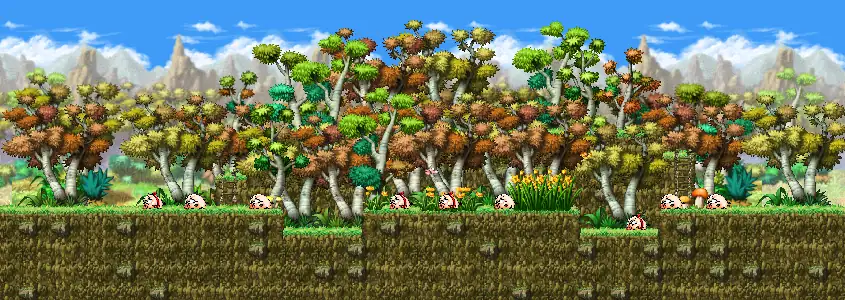 Du kommst anNach The Forest East of Henesys
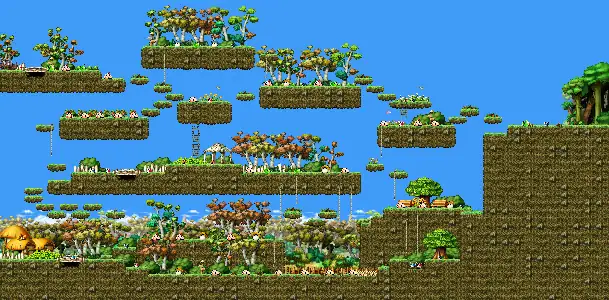 Du kommst anNach The Forest South of Ellinia
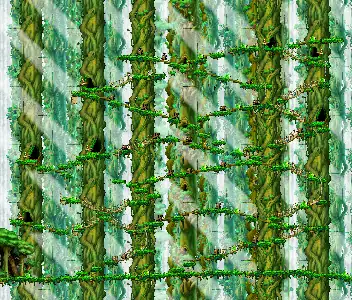 Du kommst anNach The Forest of Wisdom
 Du kommst anNach Monkey Forest I
 Du kommst anNach Monkey Forest II
 Du kommst anNach The Forest of Evil I
 Du kommst anNach The Forest of Evil II
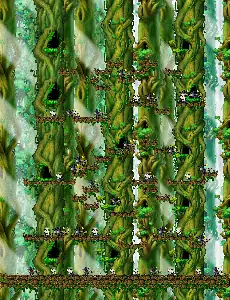 Du kommst anMalady

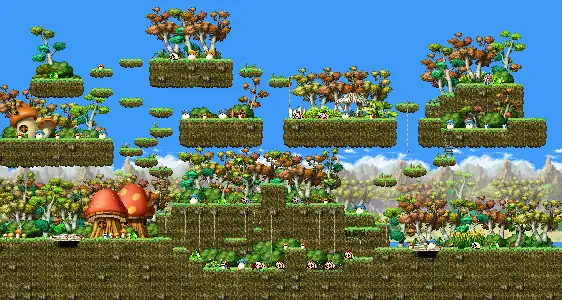 Du kommst anNach Henesys Dungeon Entrance
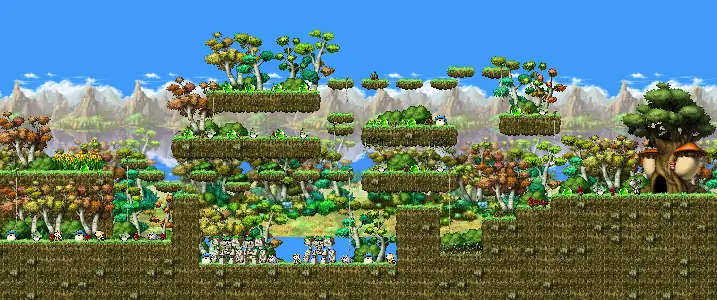 Du kommst anNach Swampy Land in a Deep Forest
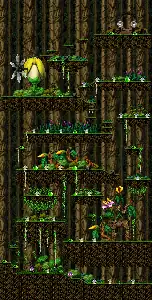 Du kommst anNach Sleepywood
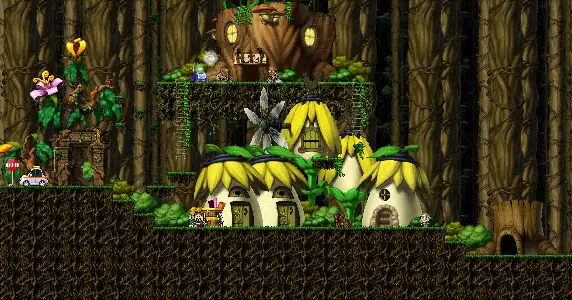 Du kommst anNach Ant Tunnel I
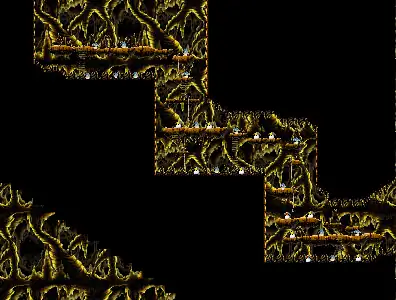 Du kommst anNach Ant Tunnel II
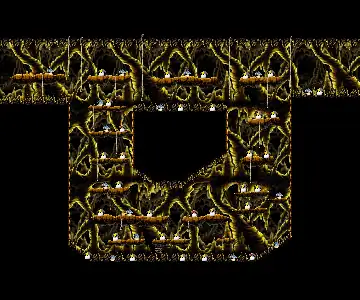 Du kommst anNach Ant Tunnel III
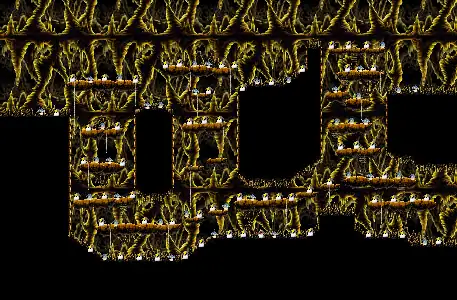 Du kommst anNach Ant Tunnel IV
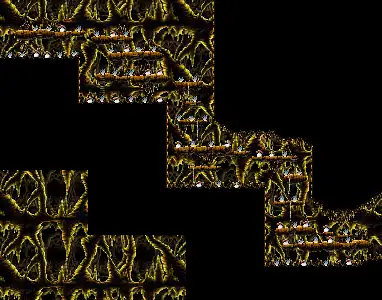 Du kommst anNach Dark Cave
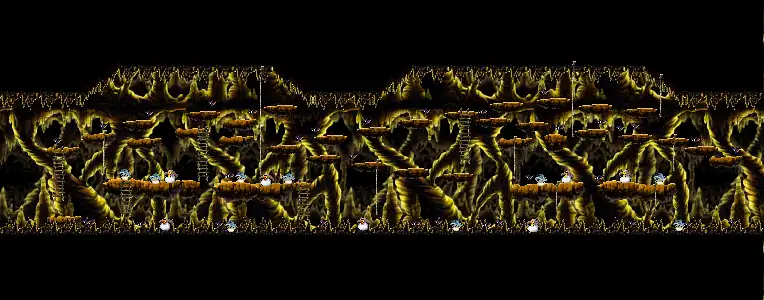 Du kommst anNach Dangerous Steam
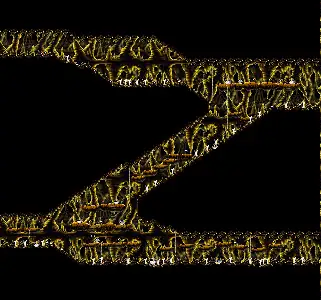 Du kommst anNach Deep Ant Tunnel I
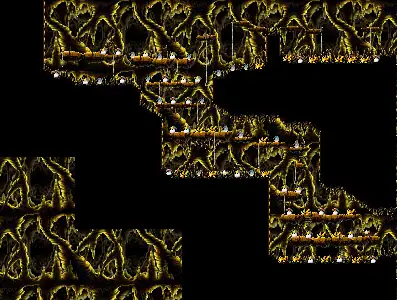 Du kommst anNach Deep Ant Tunnel II
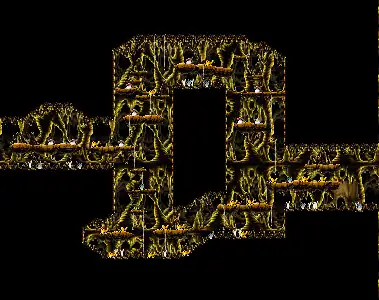 Du kommst anNach Ant Tunnel Park
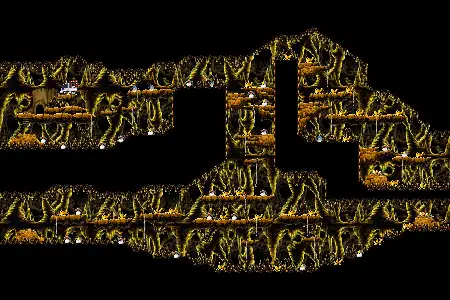 Du kommst anNach The Cave of Evil Eye I
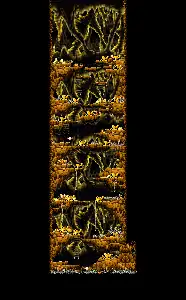 Du kommst anNach The Cave of Evil Eye II
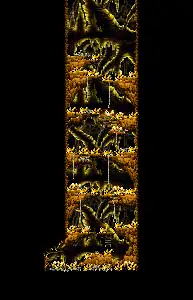 Du kommst anNach The Cave of Evil Eye III
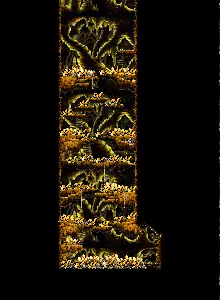 Du kommst anNach The Cave of Evil Eye IV
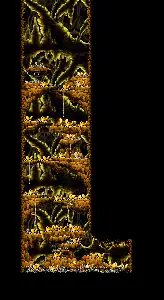 Du kommst anNach Drake Hunting Ground
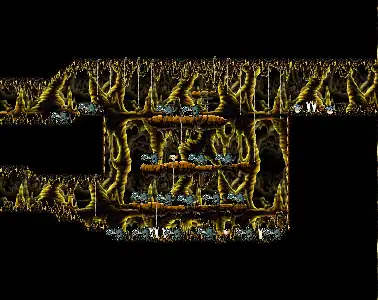 Du kommst anNach The Tunnel That Lost Light I
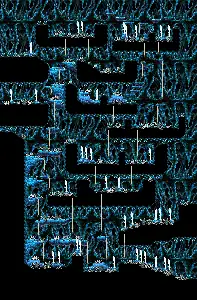 Du kommst anNach The Tunnel That Lost Light II
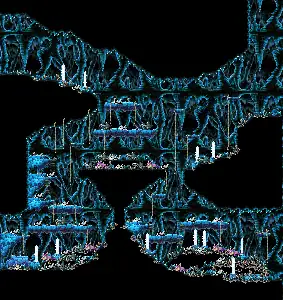 Du kommst anNach Another Entrance
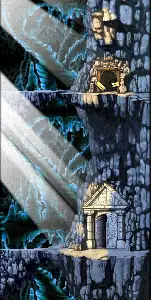 Du kommst anNach Drake's Meal Table
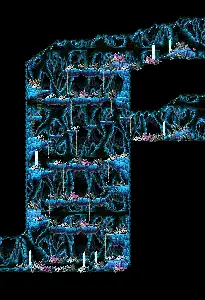 Du kommst anDrake

 Drake's Blood3 mitbringen
 Mushmom Spore1 mitbringen
 Medicine With Weird Vibes25 mitbringen
 Malady's Experimental Frog25 mitbringen